How to Whittle a Simple Wooden Mushroom
The ideal first carving project. Learn foundational stop cuts, shape natural organic contours, and finish a charming wooden keepsake with minimal equipment.
Overview: A Practical First Project
If you are new to wood carving, a simple wooden mushroom is an accessible first project. A mushroom has natural organic shape: if the cap is slightly asymmetrical or the stem tilts gently, it still looks natural and intentional.
This project introduces two core cutting concepts that appear across nearly all whittling:
- The Stop Cut: A shallow, controlled incision that establishes a boundary line in the wood. Subsequent cuts meet this line, which helps stop material from splitting or peeling beyond where you intend.
- The Relief Cut: A controlled slicing cut angled toward your stop cut that removes waste wood up to the boundary, revealing depth and creating the cap ledge.
Essential Safety Check Before Starting
- Protect the hand holding the workpiece: Always wear a properly fitting cut-resistant carving or work glove on the hand securing the wood block. Cut-resistant does not mean cut-proof—protective equipment serves as a backup safeguard and never replaces proper blade control.
- Keep body parts out of the blade path: No hand, finger, thumb, leg, or other body part should ever be in the projected path of the blade. Plan every cut so that a sudden slip would travel safely into empty air.
- Maintain workpiece control: Keep a firm, comfortable grip on the wood. Reposition the block rather than contorting your cutting hand into awkward angles.
- Use manageable cuts without excessive force: Remove thin shavings. If a cut resists or requires heavy downward muscle force, stop. Forcing a dull or caught blade is the most common cause of slipping.
Materials and Tools Needed
- One Basswood blank: Approximately 1" × 1" wide by 3" long as a practical starting size.
- One carving knife: A fixed blade with a relatively short, controllable cutting edge.
- A sharp pencil: For sketching guide lines around the block.
- Cut-resistant carving glove: Worn on the hand holding the workpiece.
- Leather strop and compound: For light, regular edge maintenance.
If you need help selecting these items, review our Beginner Tool Kit Guide.
Step-by-Step Instructions
Step 1: Wood Prep & Marking the Cap Baseline
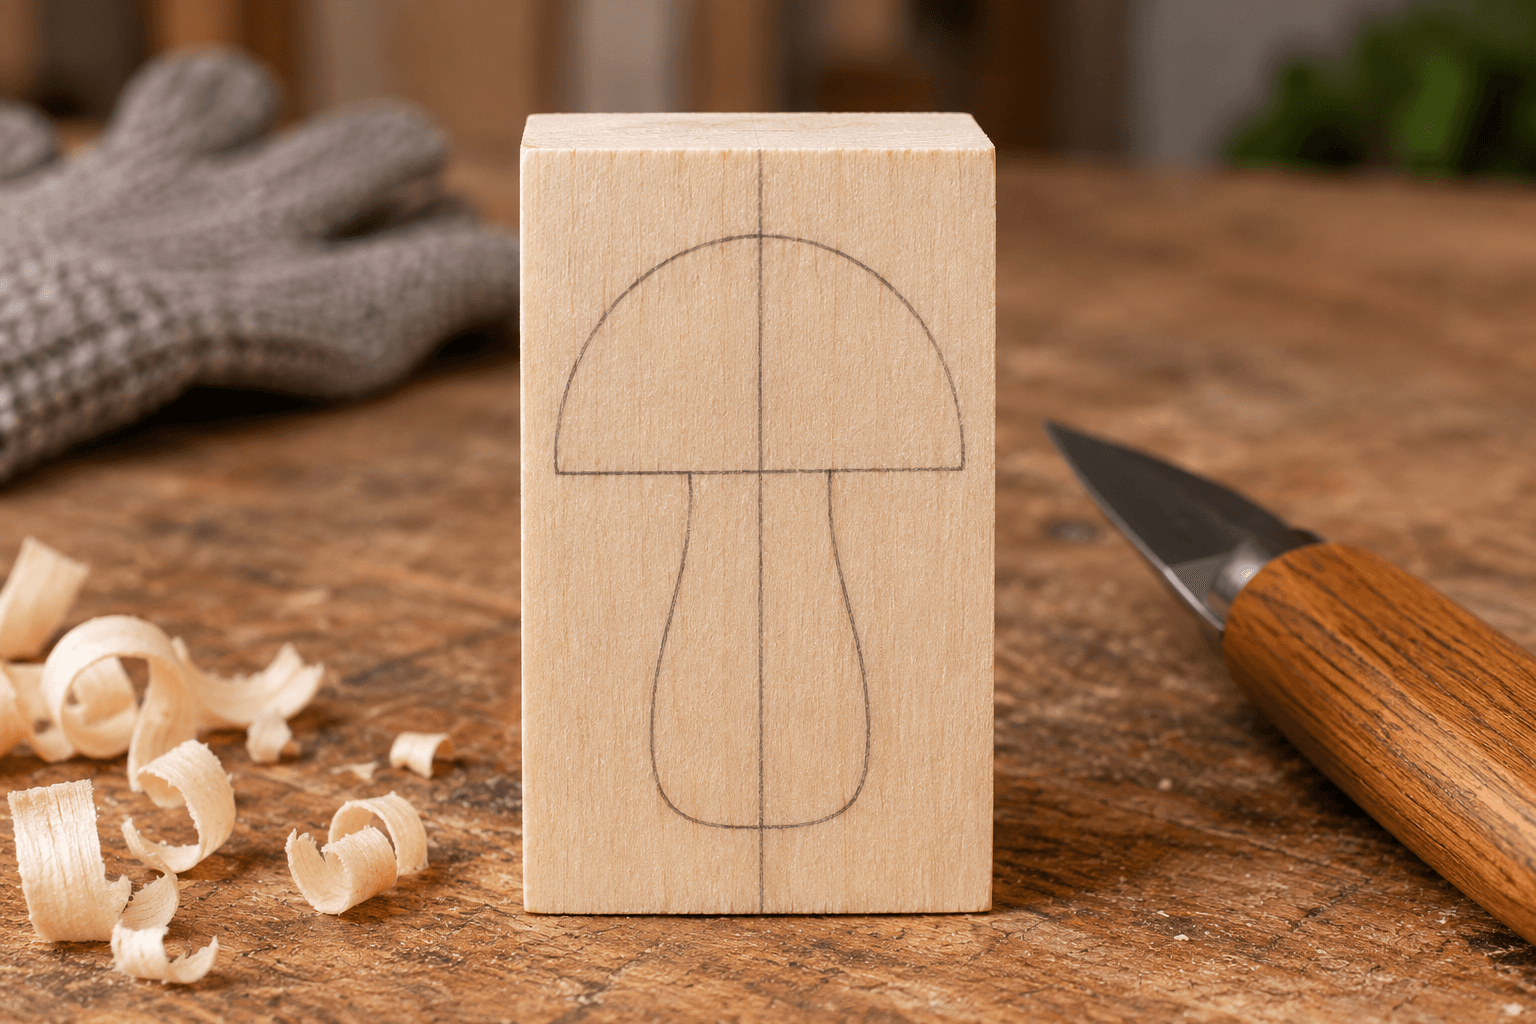
Hold your basswood block vertically. With your pencil, draw a reference line around all four faces of the block, roughly 1 inch down from the top edge.
The wood above this pencil line will become your mushroom cap; the longer portion below will become the stem. Keeping this reference line reasonably level gives you a guide so the cap doesn't accidentally become crooked.
Step 2: Establishing the Cap Stop Cut
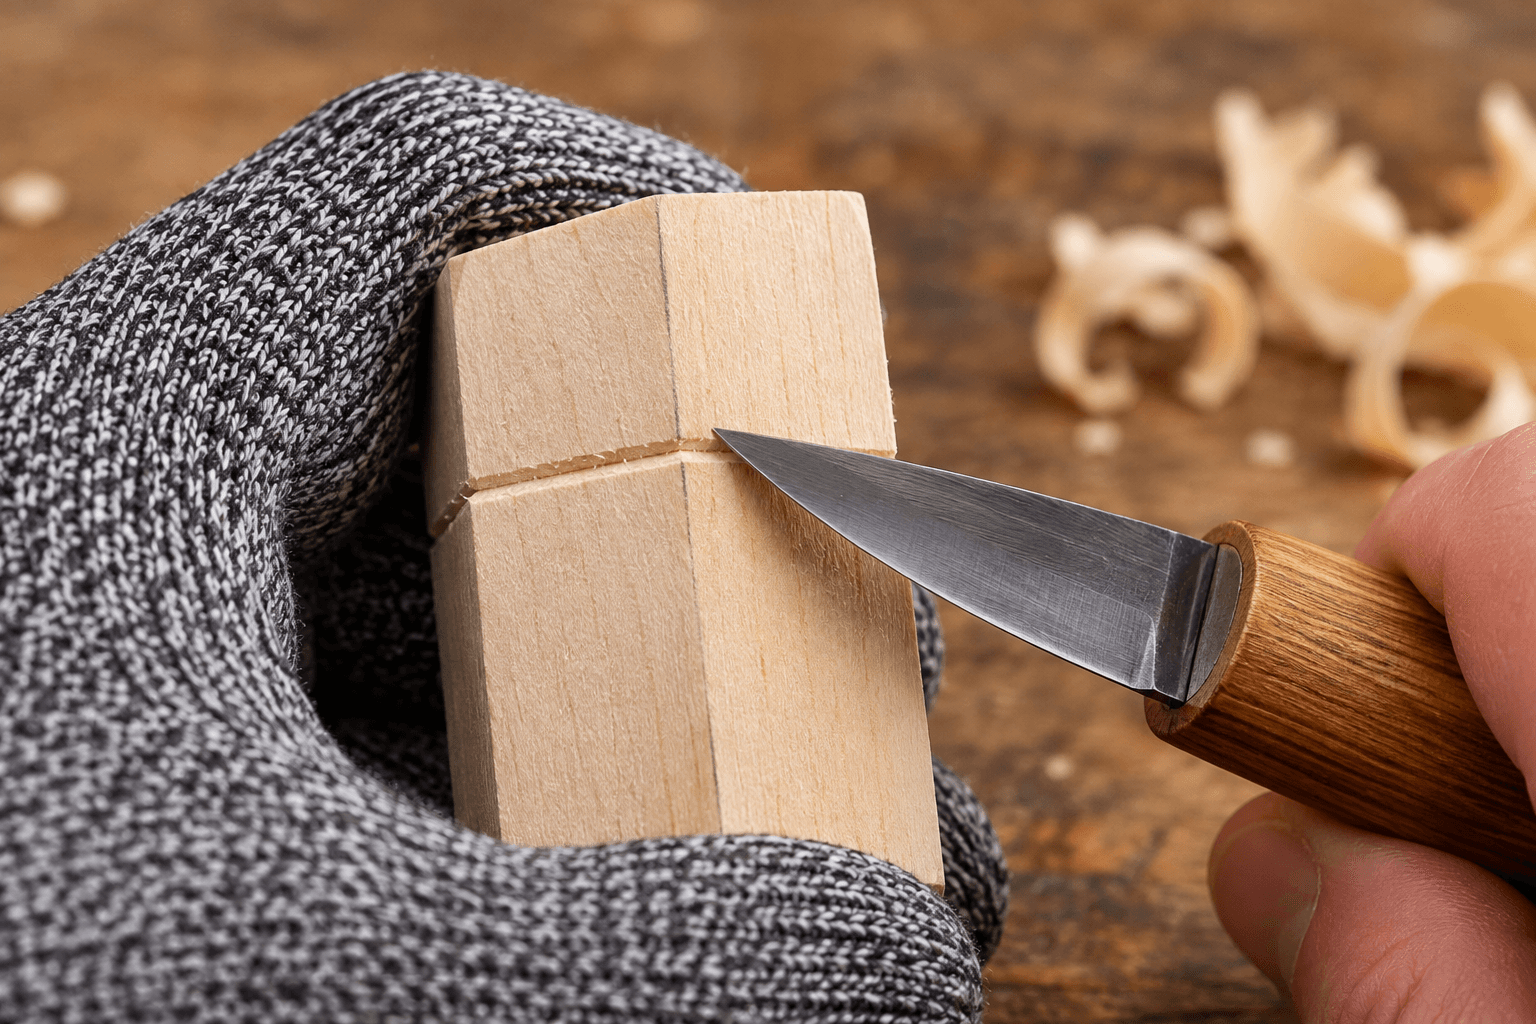
Place the cutting edge of your knife directly onto the pencil line on one face of the block. With steady, controlled hand pressure, make a shallow incision into the wood along the line.
You do not need to force the blade deeply—a controlled, shallow groove is all that is required to establish the boundary. Repeat this across all four sides of the block so the cuts meet cleanly at the corners, creating an unbroken boundary dividing the cap from the stem.
Step 3: Relieving Wood to Form the Stem
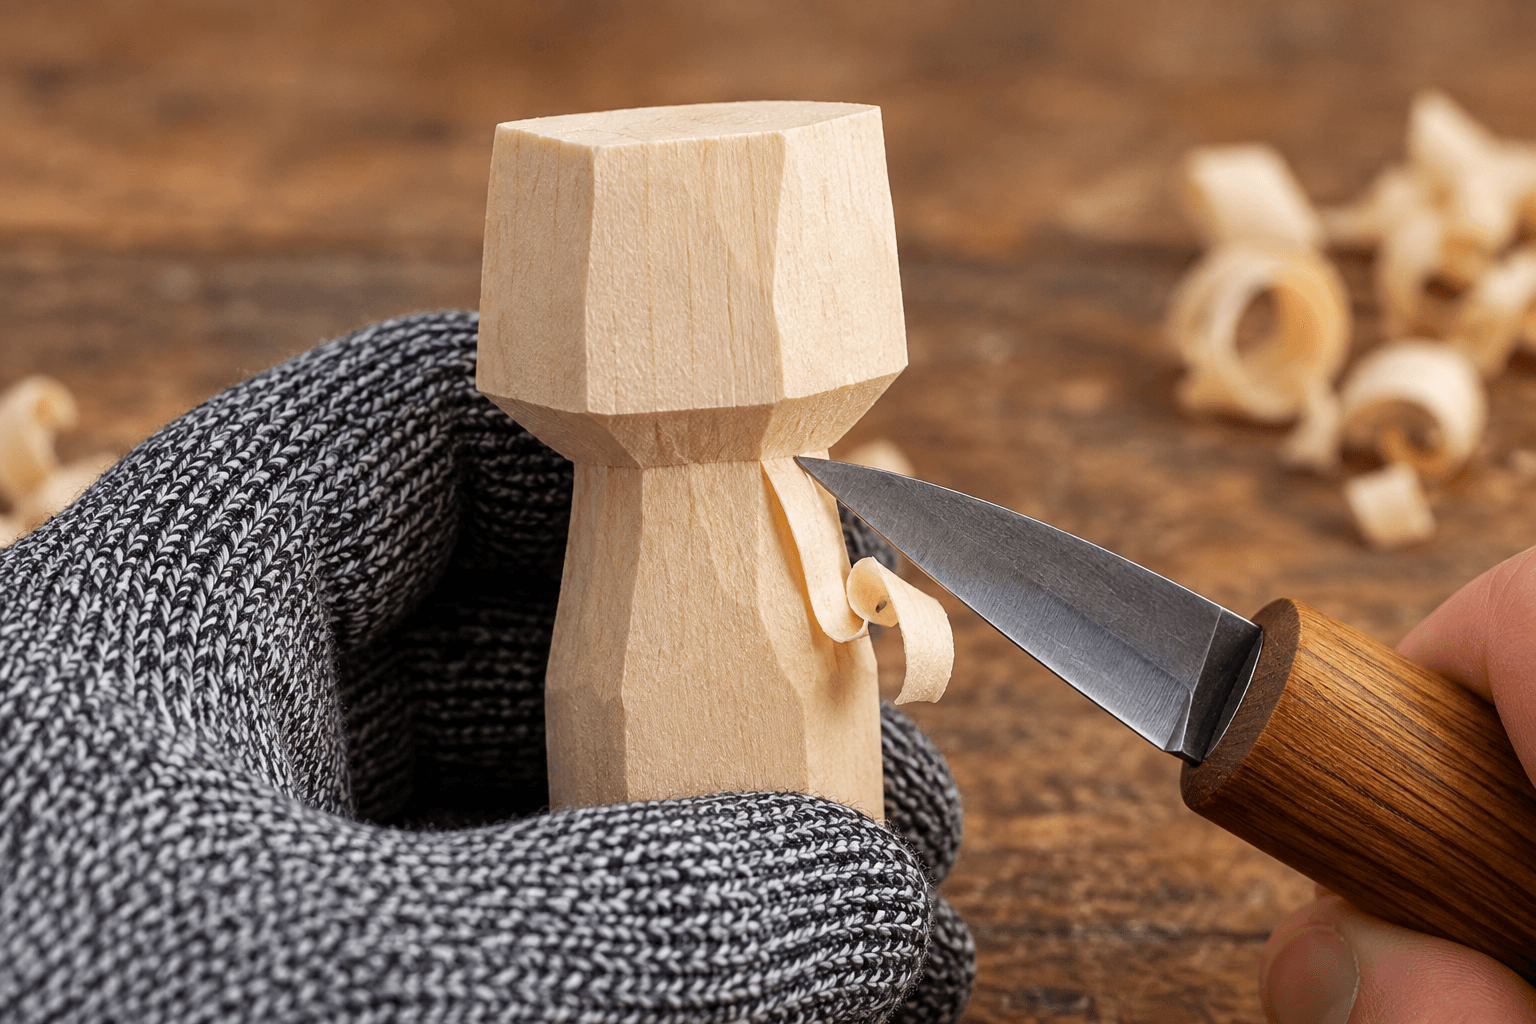
Now, position your knife blade slightly below your stop cut on the stem section. Angle the cutting edge toward the incision and make a light, controlled slicing cut toward the boundary.
When your knife reaches the stop cut, a small wood shaving will release cleanly, establishing an initial shoulder beneath the cap.
Work your way around all four faces. If a chip does not release freely, never pry or twist the blade sideways, as knife tips can snap easily. Instead, re-score your stop cut with light, controlled pressure and take another shallow relief slice.
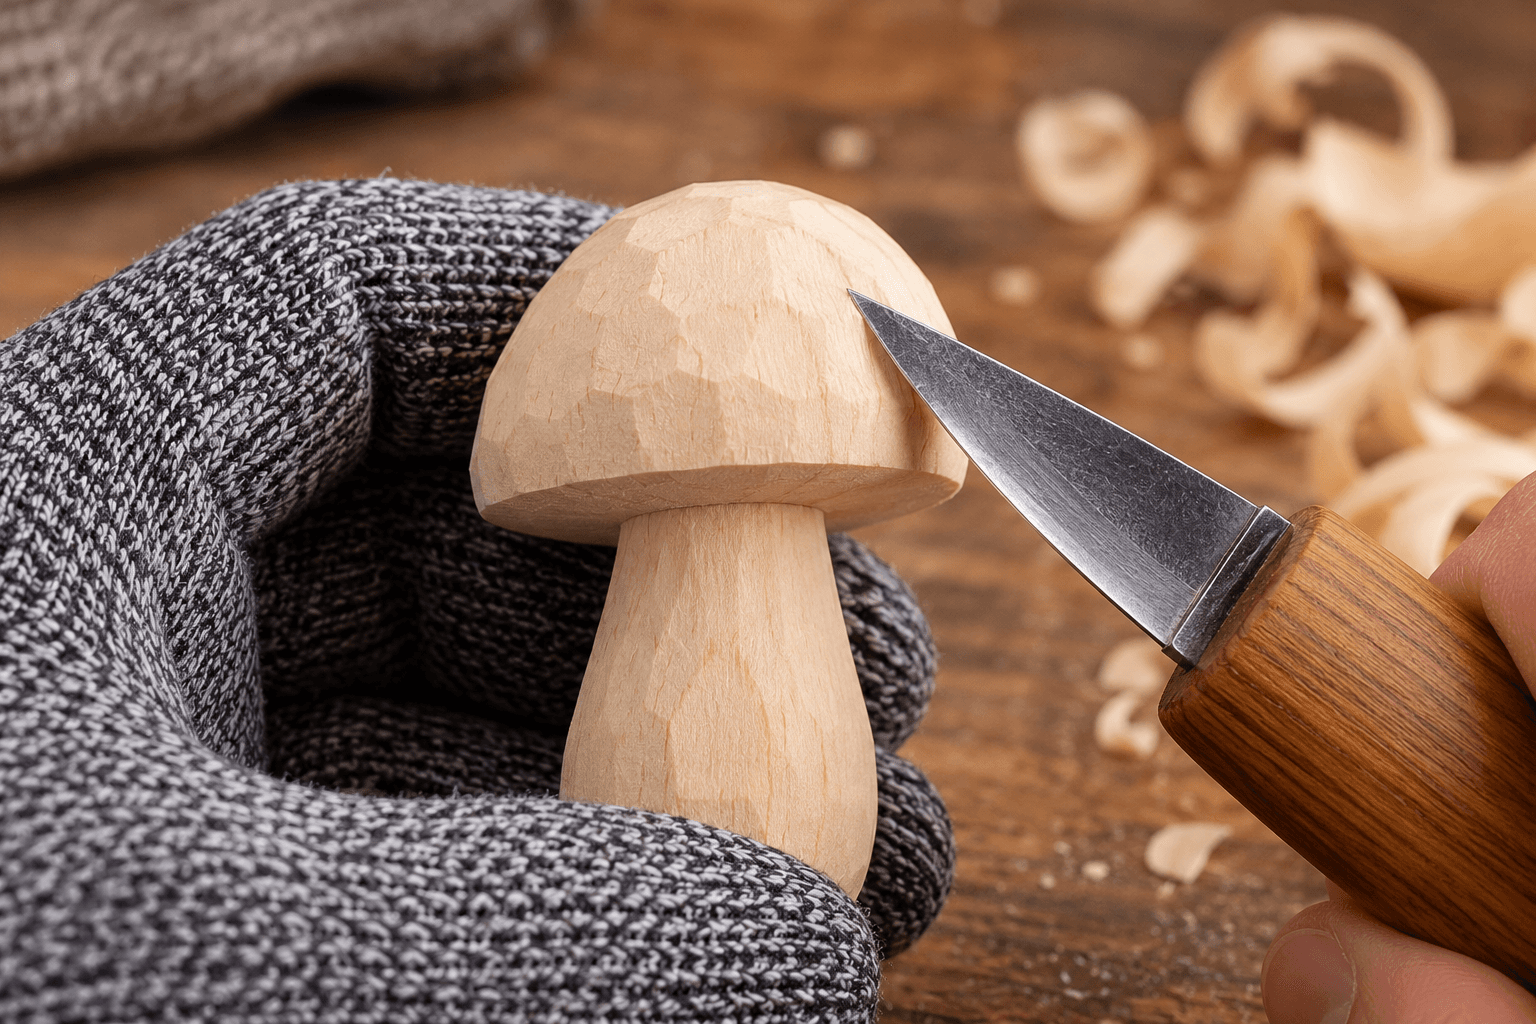
Step 4: Rounding the Mushroom Cap
With the underside of the cap defined, turn your attention to the top block. It currently has four sharp vertical corners.
Begin by chamfering (slicing away) the four square corner edges to turn the cap into an eight-sided shape. Next, take light beveling cuts around the top outer rim to begin doming the peak.
Take small, paper-thin shaving cuts from the peak toward the outer rim. Work around the perimeter with light passes until the block softens into a smooth, balanced dome.
Step 5: Tapering and Shaping the Stem
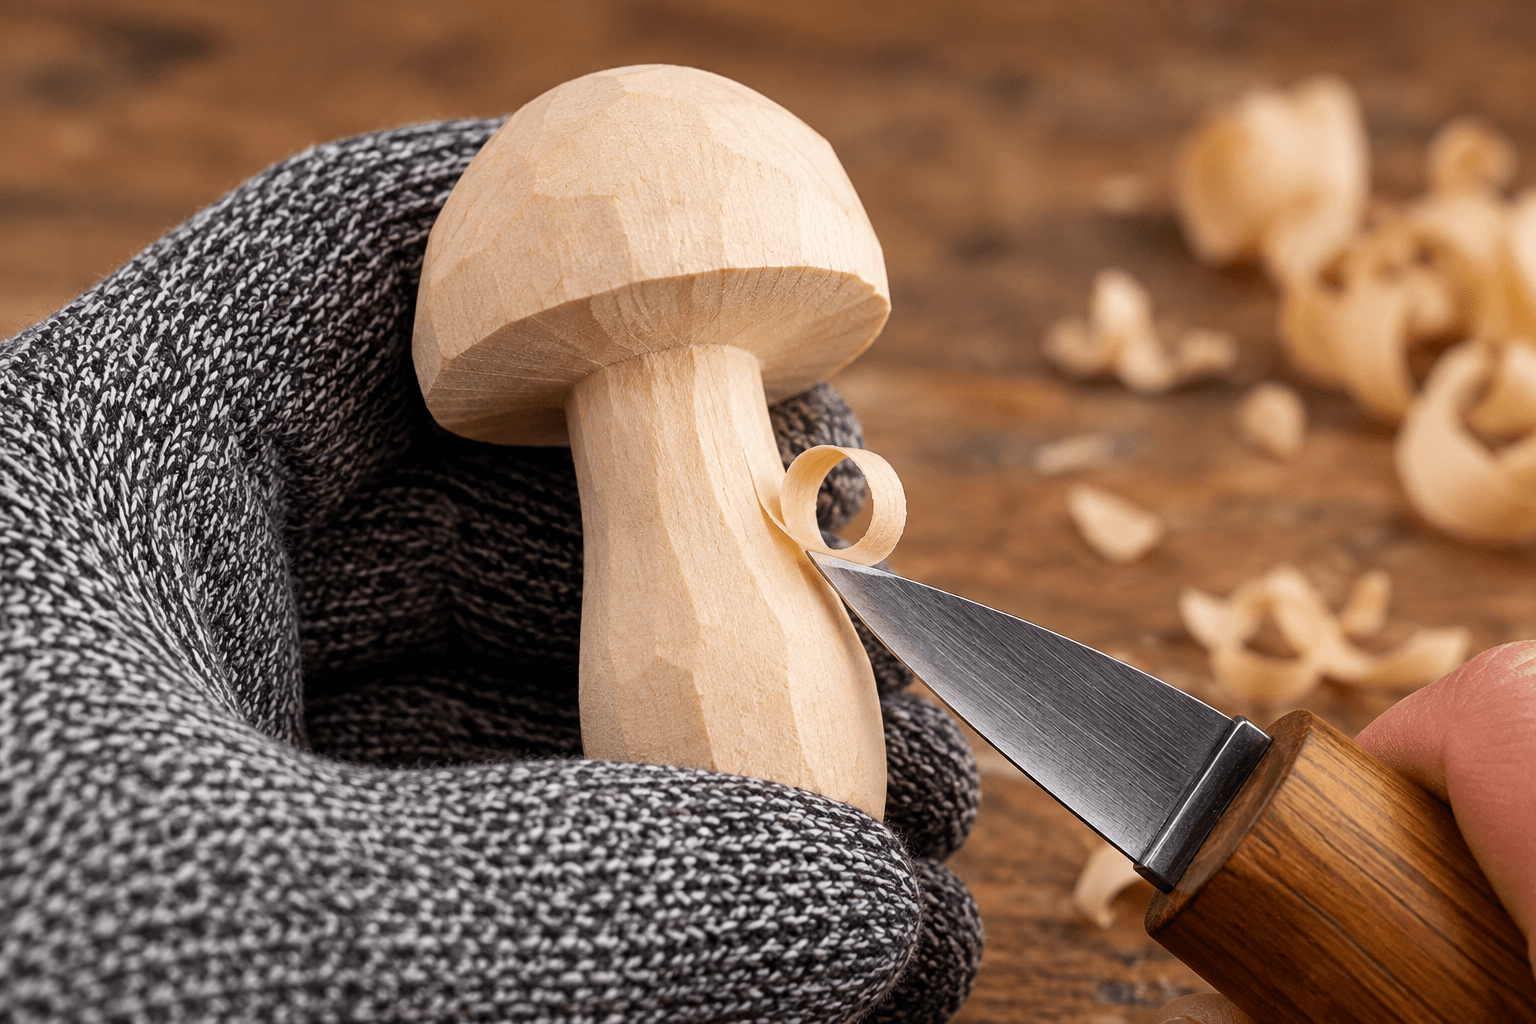
Return to the stem. Just like you did on the cap, soften the four square corners of the stem with light slicing cuts.
Take controlled push cuts down the length of the stem, keeping your holding hand and fingers firmly behind the blade path. Gradually narrow the stem so it transitions gracefully toward the undercut cap shoulder.
Keep your cuts light and measured. Removing too much wood quickly can weaken the stem where it joins the cap.
Step 6: Detailing, Strop Touch-Up & Optional Finishing
Take a brief moment to give your knife blade a few light passes on your leather strop. A freshly stropped edge makes your final cleanup cuts clean and precise.
Inspect the carving under good light. Slice away any fuzzy wood fibers or uneven steps under the cap ledge.
You now have a few simple options for finishing, depending on what you prefer:
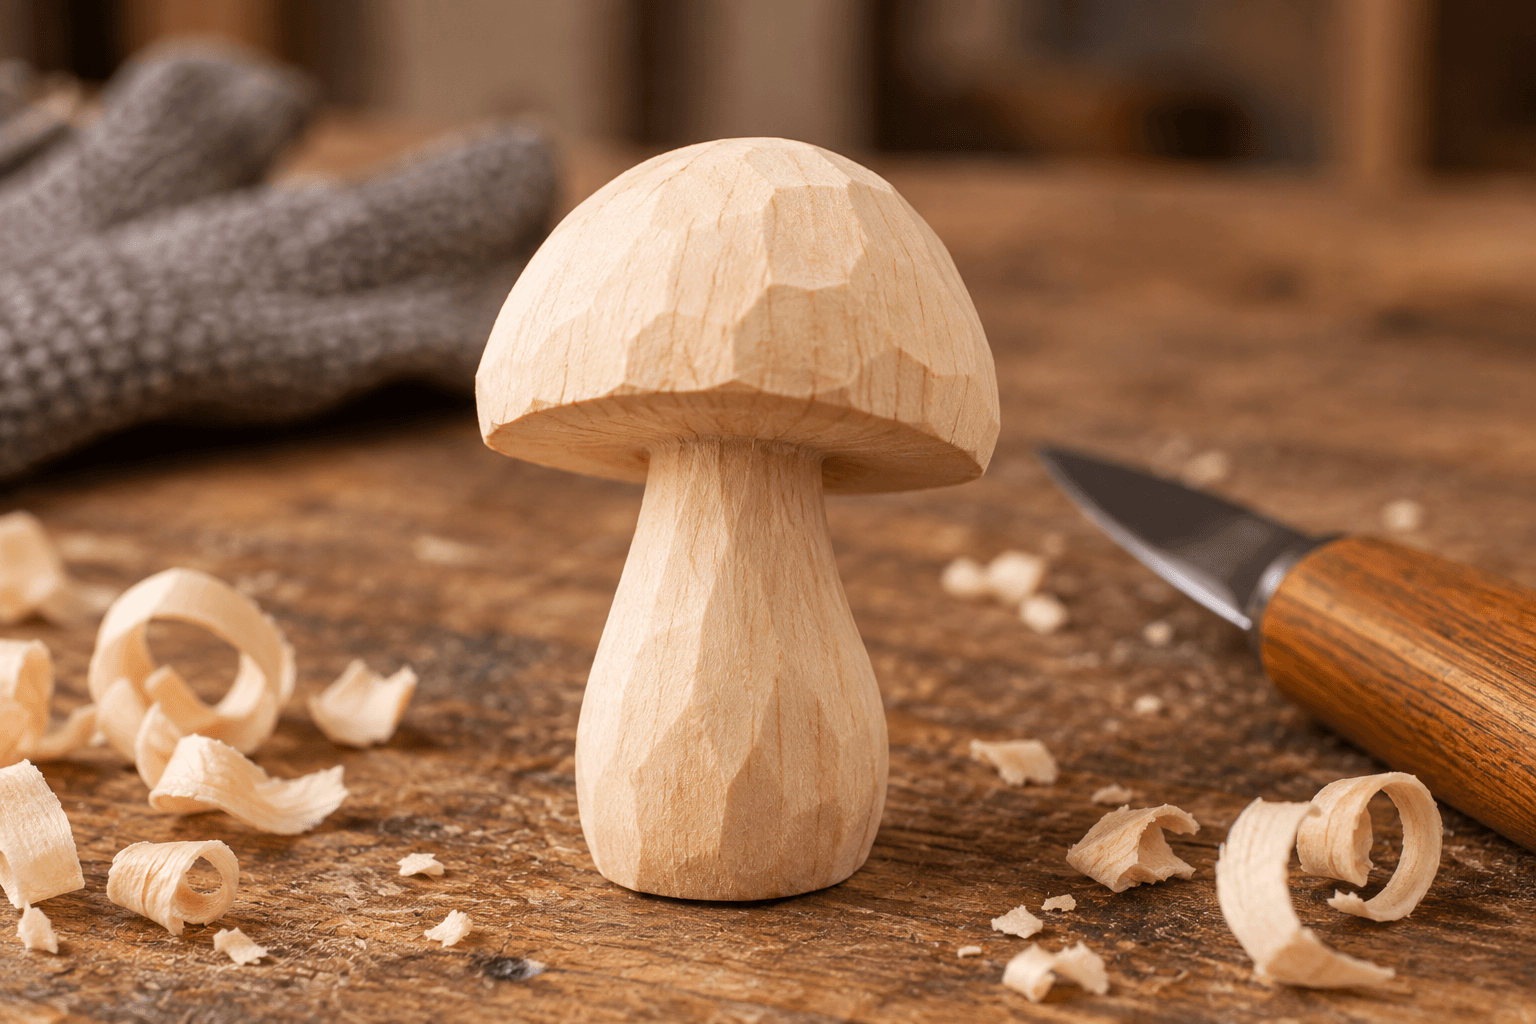
- Traditional Faceted Finish: Leave the clean, visible knife facets as they are. In folk whittling, crisp tool cuts are celebrated as the hallmark of handmade work.
- Smooth Sanded Finish: If you prefer a smoother surface, you can lightly sand the mushroom along the grain with fine-grit sandpaper (such as 220-grit).
- Optional Protective Coat: If desired, you can apply an optional finish—such as a small dab of food-grade mineral oil, paste beeswax, or cutting-board wax—to highlight the natural wood grain and protect it from handling.
Troubleshooting Common Beginner Difficulties
- The wood split into the cap shoulder: This happens when a relief slice is taken before a clear stop cut boundary has been established, or when trying to remove too large a chip at once. Keep your cuts shallow and ensure your stop cut clearly defines the boundary line before slicing wood away.
- The knife resists or tears the wood: This indicates cutting against the grain. If wood fibers begin tearing, lifting, or splitting ahead of the blade, stop immediately rather than trying to force the cut through. Turn the block around and approach the area from the opposite direction with a light, controlled cut.
- Ragged cuts or excessive hand strain: Your blade likely needs stropping. A few light, trailing passes on your leather strop with polishing compound will quickly restore an easy, controlled slice.
What to Try Next
Congratulations on finishing your first whittling project! You have mastered the stop cut and basic 3D contouring.
When you are ready for your next project, try our tutorial on carving a traditional wooden Comfort Bird, which introduces gentle sweeping body curves and tactile ergonomics.