
How to Start Whittling: What You Actually Need
You don’t need an expensive wood shop, power tools, or dozens of specialty chisels. A knife, a block of soft wood, and a protective glove are plenty.
What Is Whittling?
Whittling is the craft of shaping wood using a handheld knife. Unlike larger-scale woodworking or bench carving—which frequently relies on mallets, gouges, and heavy clamps—whittling is portable, simple, and self-contained.
You can whittle on a porch, at a campsite, or at a kitchen table with a drop cloth. The appeal of the craft is its low barrier to entry: a single sharp knife, a manageable piece of wood, and safe habits are enough to begin.
The Minimum You Need to Start
Woodworking advice can sometimes make beginners feel they need an extensive collection of tools before making their first cut. In practice, you only need four basics:
- One dedicated carving knife: A fixed-blade carving knife with a relatively short, controllable blade and a comfortable handle.
- A beginner-friendly piece of wood: A small, clean block of seasoned basswood.
- A cut-resistant carving glove: Worn on the hand holding the workpiece to help protect against accidental blade contact.
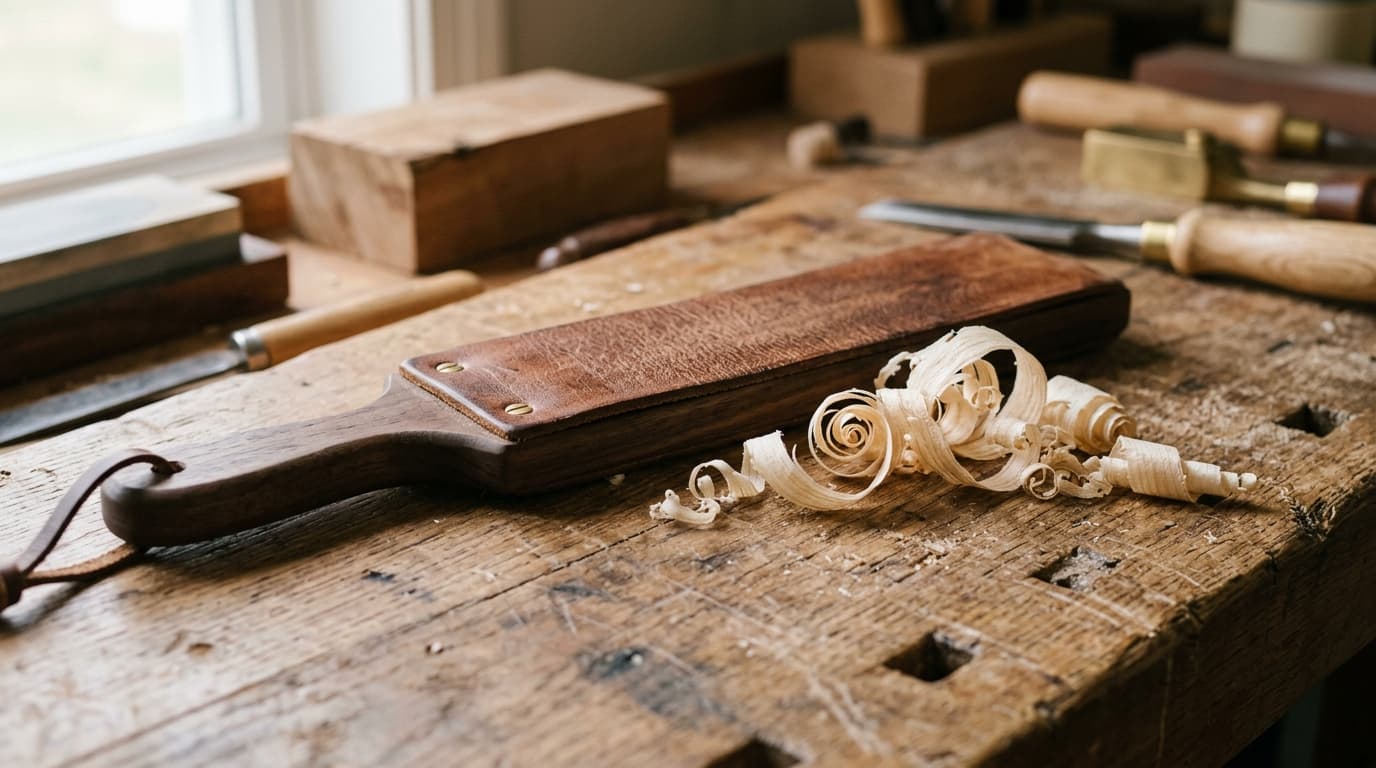
- A leather strop and compound: To maintain the cutting edge without constantly regrinding on sharpening stones.
If you want a breakdown of how these tools fit together in a starter set, visit our Beginner Tool Kit Guide.
Choosing Your First Knife
While many people picture a traditional folding pocket knife, most beginners find a dedicated fixed-blade carving knife (often called a detail or bench knife) easier and more comfortable to learn with.
Here are key characteristics to consider:
- Blade length and control: A relatively short blade is generally much easier for beginners to control than a long general-purpose knife. Longer blades reduce leverage and place the cutting edge farther from your fingers. While dimensions vary by maker, many beginner carving knives feature blades roughly in the range of 1.25 to 2 inches as a practical example.
- Straight or gentle profile: A straight or slightly curved cutting edge helps make flat push cuts and stop cuts clean and predictable.
- A comfortable wooden handle: Carving involves repetitive hand pressure. A smooth handle that fills the palm comfortably helps reduce hot spots and hand fatigue.
- High-carbon or tool steel: High-carbon steels are widely favored for carving knives because they take a keen edge on a simple strop, though they should be wiped clean and dry after use to prevent corrosion.
Choosing Wood: Why Basswood Is a Good Choice for Beginners
One common frustration for beginners is trying to carve whatever scrap wood happens to be on hand, such as framing lumber or seasoned hardwood firewood.
Construction pine, for instance, has alternating bands of very soft earlywood and hard resin rings, which can make a knife lurch unexpectedly. Dense hardwoods like oak or maple will quickly tire beginner hands and resist light cuts.
For beginner whittling, a common and reliable starting point is basswood. Depending on your region, you may also see closely related woods from trees in the Tilia genus referred to as linden or lime wood, though common names and specific species vary by location. For beginners, basswood offers several practical characteristics:
- Consistent grain: It has subtle growth rings and cuts relatively evenly across different angles.
- Soft yet workable: It is soft enough to slice with modest hand pressure, while still firm enough to hold clean edges without crumbling.
- Gentle on blades: It is relatively forgiving on knife edges compared to harder furniture woods.
Protecting Your Hands and Carving Safely
Working with sharp hand tools requires deliberate attention and steady control. No safety equipment makes carving risk-free, but following straightforward habits significantly reduces the likelihood of accidents:
Core Safety Principles for Beginners
- Protect the hand holding the workpiece: Wear a properly fitting cut-resistant carving or work glove appropriate for knife handling on your holding hand. Keep in mind that cut-resistant does not mean cut-proof—protective gear reduces injury risk but never replaces safe cutting technique.
- Keep body parts out of the blade path: Plan each cut so that fingers, thighs, and other body parts remain outside the trajectory of the edge if the knife slips or wood gives way unexpectedly.
- Maintain controlled cuts: Cut away from yourself or use controlled paring cuts where a thumb or hand acts as a stable pivot behind the blade spine. Avoid forceful, uncontrolled slicing.
- Maintain a sharp, responsive edge: A knife that cuts cleanly requires minimal force, helping you stay in control throughout each cut.
- Stop when tired: Hand fatigue leads to rushed cuts and diminished control. Take regular breaks and stop working when control becomes difficult.
Keeping Your Knife Sharp: Stropping Basics
A dull knife resists cutting and encourages you to apply excessive force. When wood gives way under heavy pressure, the blade is far more likely to slip out of control. A sharp knife, by contrast, removes wood with light, measured passes.
During normal carving, you generally do not need to regrind your edge on sharpening stones every session. Instead, regular use of a leather strop loaded with fine polishing compound helps maintain a keen cutting edge.
How often you strop depends on your knife steel, the wood you are carving, and how long you work. Rather than following a rigid schedule, a practical habit is to strop lightly and regularly—before the edge becomes noticeably dull or resistant. Hold the knife so the existing bevel matches the leather surface, and draw the blade backward with light, controlled strokes with the cutting edge trailing the spine.
What You Don’t Need Yet
When starting out, there are several things you can comfortably set aside:
- Large chisel and gouge sets: Multi-piece gouge sets are designed primarily for bench relief carving and lathe work. For simple handheld whittling, a single knife is plenty.
- Power carving rotary tools: Power carving creates airborne dust and noise, requiring respirators and eye protection while changing the quiet, tactile nature of the craft.
- Multiple specialty knives: One dependable detail knife will easily handle your first several projects.
- Heavy workshop benches or vises: Handheld whittling requires only your hands, a knife, and a clean space to collect shavings.
Your First Project
The fastest way to learn is by making something tangible. Don’t start with an intricate human face or an elaborate relief panel. Start with a project designed to teach fundamental knife control.
We designed our Wooden Mushroom tutorial specifically for your very first session:
How to Whittle a Simple Wooden Mushroom
45–60 minutes · Teaches stop cuts, stem tapering, and rounding a cap.
Once you finish the mushroom, you can move on to the classic Comfort Bird project, which introduces gentle body curves and tactile smoothing.